Get a Google Account and Register for Sites. In a browser, go to sites.google.com If you have a Google account login. If not, click 'Sign up for Sites' and register with Google.
Create a New Site. When you've successfully logged in to Google Sites do the following:
Click on 'CREATE'
Provide a name for your site, something like 'John Smith's App Inventor Site'. Note that the id (not the name) must be unique as it will be part of your URL, this shows up below where you enter the name for your site as shown in the image below.
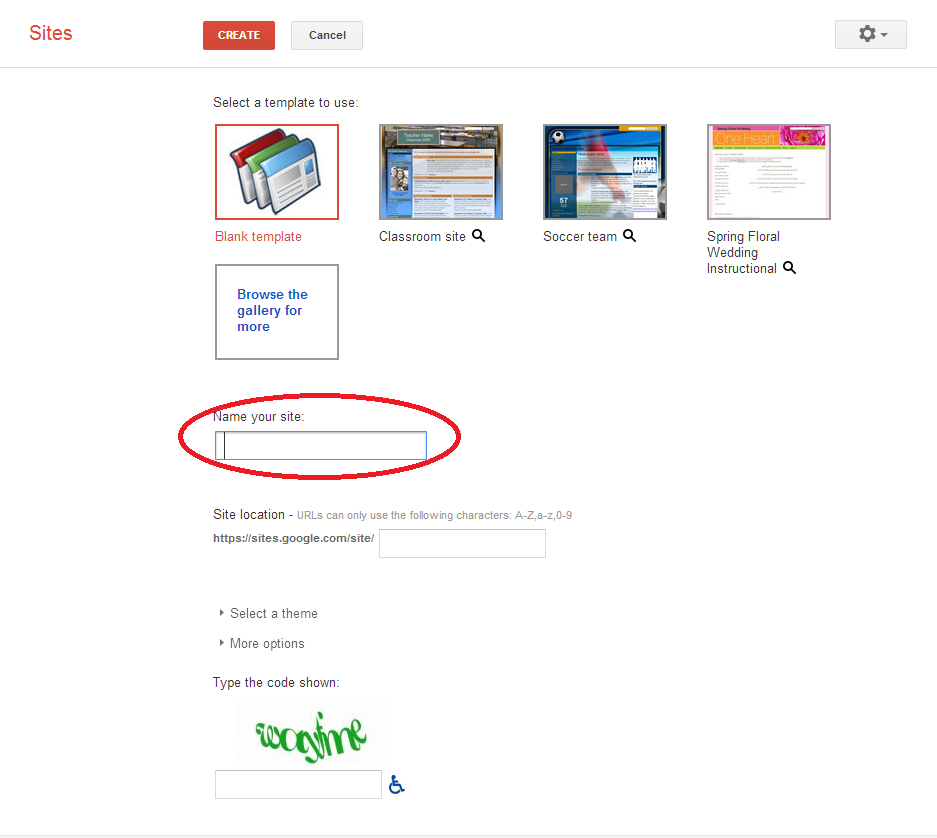
What the screen looks like when naming your new Google Site.
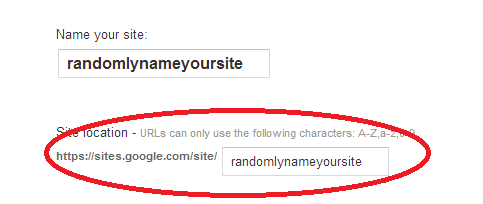
The URL gets entered automatically when you enter the name for your site.
Choose the default theme for now. You can change it later.
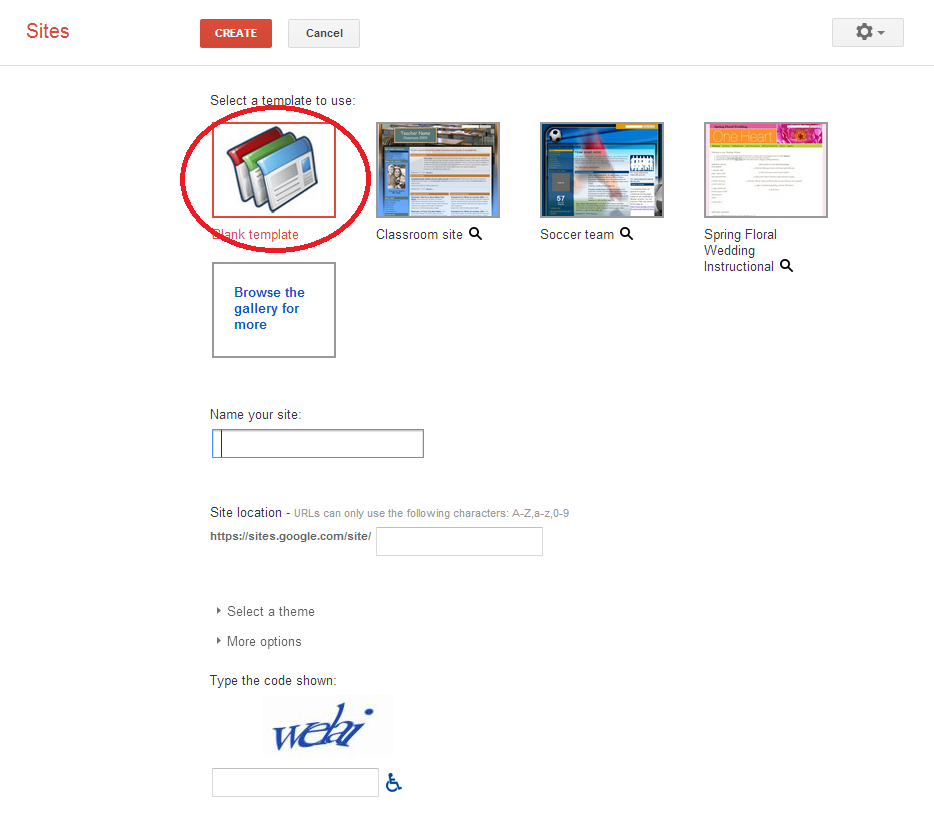
Choose the default theme for your page.
Add some basic information to the home page. To add or change information to your home page, click on "Edit Page" in the top-right corner (if you're already in Edit mode, Save and Cancel buttons will appear in the top-right corner). On your new home page, add some profile information for yourself:
- name and contact information
- short bio
- something about the course you are taking.
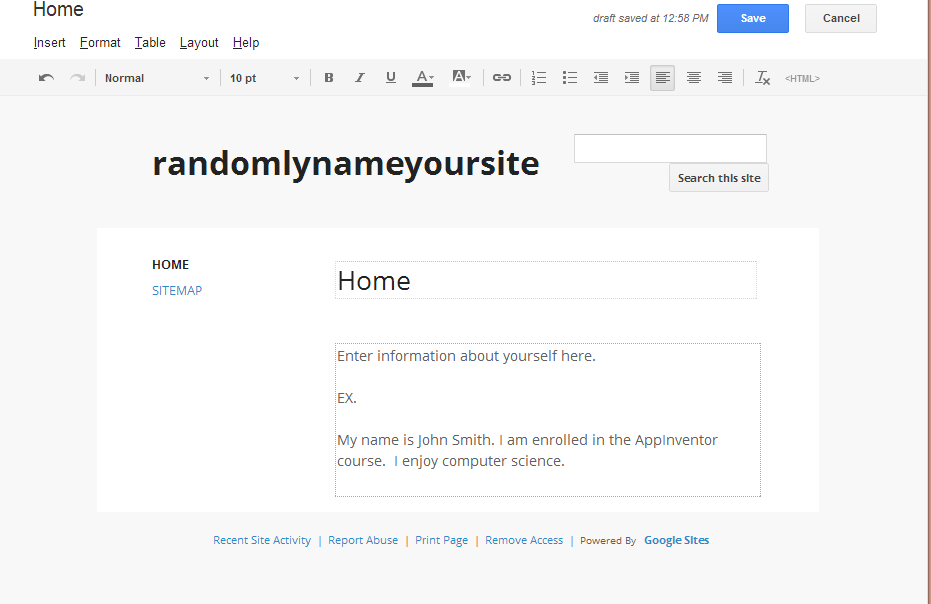
Where you add your personal information. Then click "Save" in the top right corner.
Insert a profile image on your home page You can insert images on to your page either from a file on your computer, or from the web. First, insert an image from the web. Open another browser window and search Google images for a picture you like (go to http://images.google.com to search the web for images). When you have found an image you like, right click on it and select 'Copy Image URL'(as seen below).
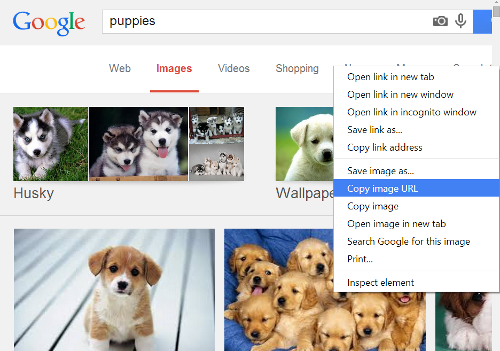
How you copy the image.
This is where you can upload the image.
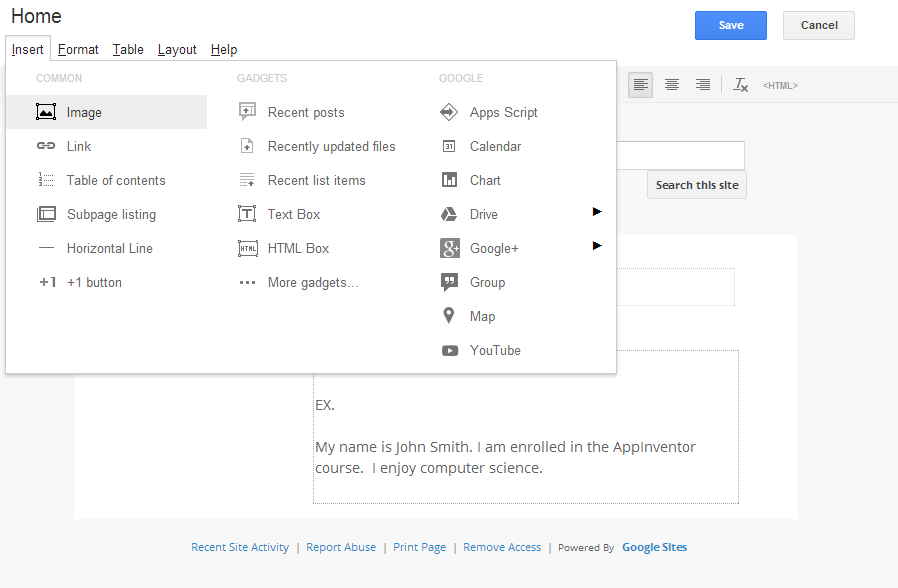
This will put the image link in your copy clipboard. To make the image appear on your Google Sites page, first make sure you are in 'Edit' mode, then select Insert | Image from the top menu. You can then either choose to upload an image from your desktop or enter a URL for a picture on the web. If you click on 'Web Address (URL)' you can then paste the URL you copied to your clipboard into the Image URL box (pictured below). The same image that appeared in the Google Image search should appear on your new Google Sites page.
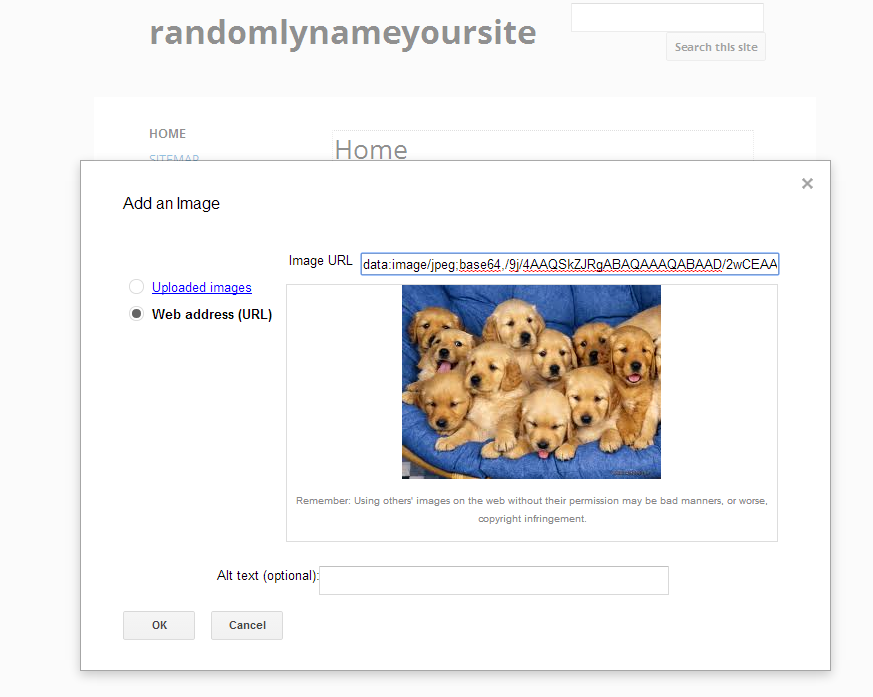
What the screen looks like after the URL has been entered as the image to use.
You can also insert an image from the hard drive of the computer. If you have a picture of yourself, great. Perhaps you can use a digital camera to take a picture of yourself and then email it yourself and upload it on the computer. If you don't want to do this right now, just go back to the Google image search and find another image from the web. This time, however, right click it and select "Save Image As". Save the file onto the desktop of your computer. Click Insert | Image again, and browse for the image you want on your Google Sites page. When you click 'Add Image' it should appear on your page.
Customize the Sidebar. The sidebar appears on all the pages of your site. You can customize it with different items and links, and even move it around on the page. Choose the options dropdown menu and select edit site layout from there. The Sidebar will be highlighted, select the + symbol from there. A dialog will appear allowing you to add pages to the sidebar (image below). Select the item you would like to add into your page; then add the them. Eventually, you'll add links to your major projects and checklists.
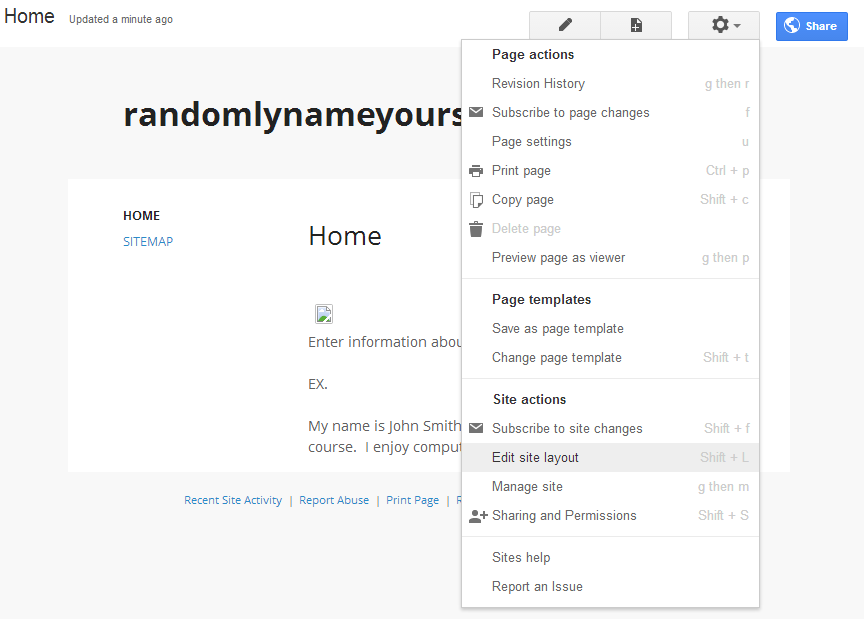
This is where you can edit your site layout.
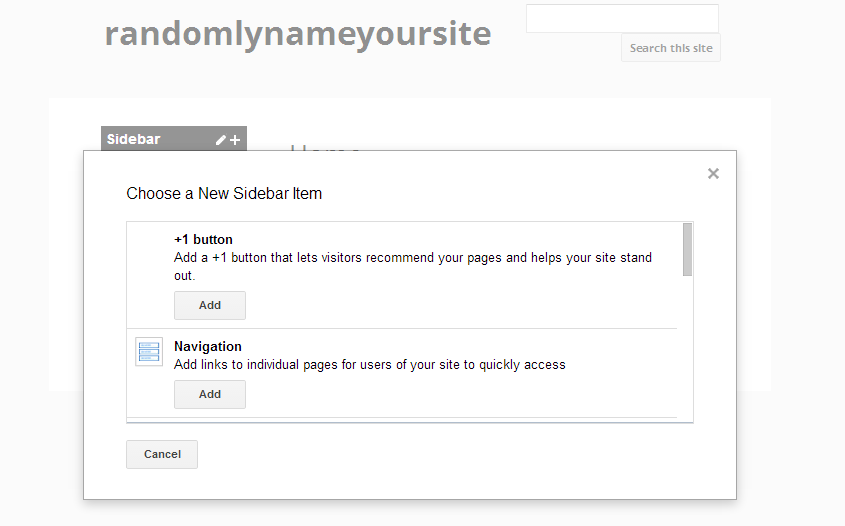
The pop up box with the options for new sidebar items.
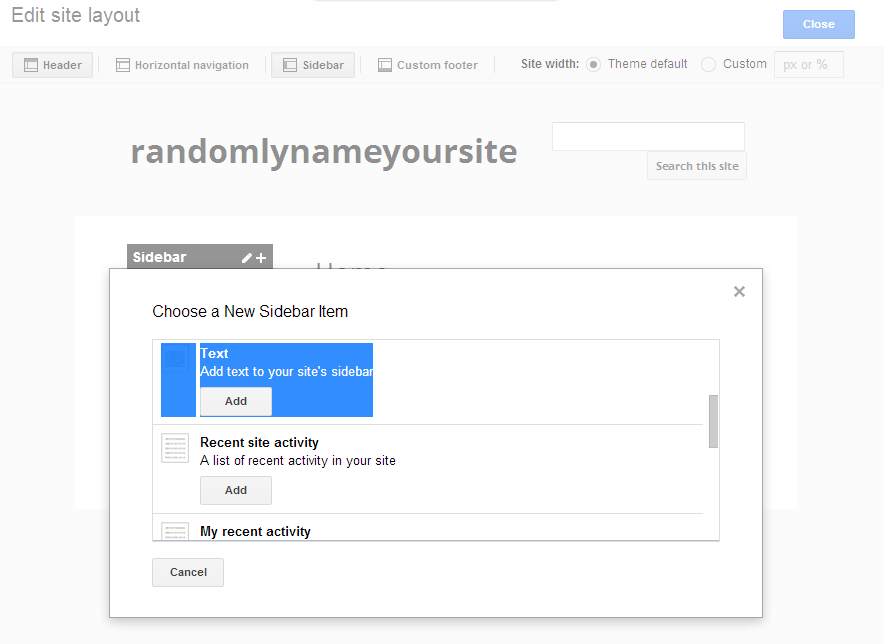
You can also add links to the outside world and other items with this option. You'll have to create a new sidebar item, just like above except when you choose an option from the pop up menu, choose. Choose the "Text" option, as seen below, and click the add button. This allows you to put in any components, including links. Add this Text navigation below the navigation bar and add links to your profiles on Facebook, the course web page, etc.
This is where you can upload the image.
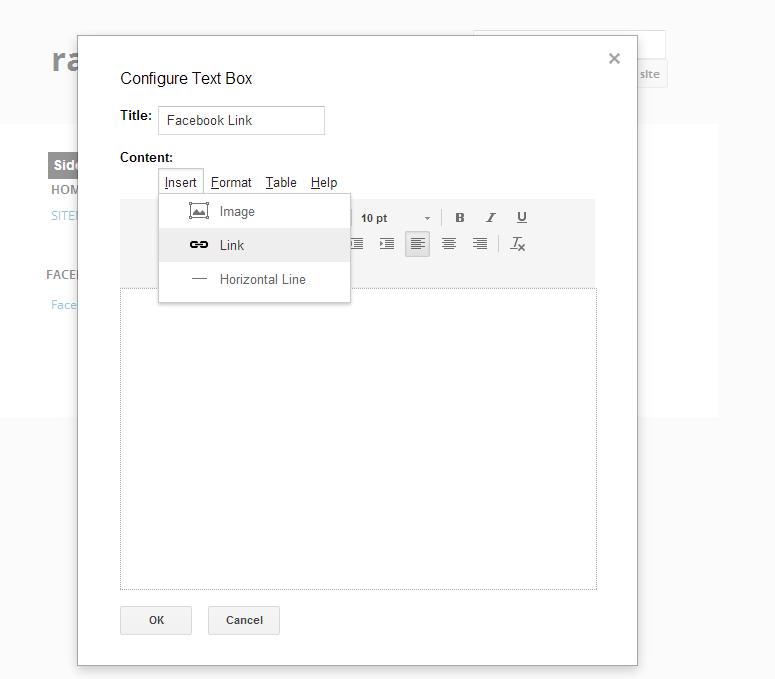
Where you edit your link information.

When you enter a link to an outside web address.
Change the logo on your site. In a drawing editor, create a logo. It might have your picture on it, or just a nicely styled title. Create your logo of dimensions something like 750x140 to fit into a Google Sites page. Add it to your site by choosing the options dropdown menu in the top-right of the screen, and select Edit site layout. Once you are inside of the edit page, select Header in the top left of the screen, then hover over the header (shown below) and click that, a pop up menu like the ope in the image below will appear. Select the Custom Logo option and browse to your image, and select OK.
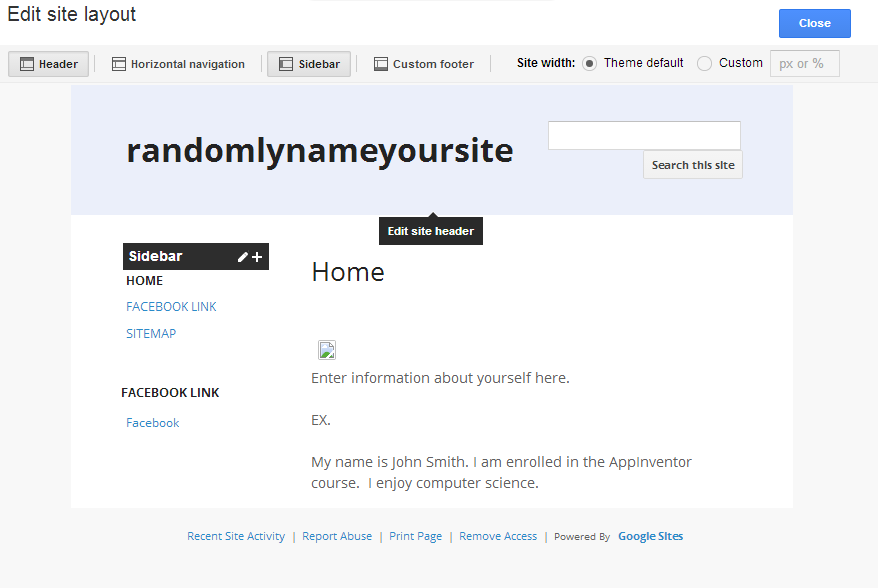
Where you select the Header.
Where the logo can be uploaded.