Overview
To expand the UI capability of your app and to provide streamlined information to an app user, you may want to use additional screens. To illustrate the use of multiple screens, we will use a simple voting app. When a user clicks on a button to “vote” for a favorite candidate, a new screen will appear displaying the total number of votes. Arrow buttons will take the user either back to the home screen (screen1) or to view the total votes for the opposing candidate.
Getting Started
When creating a new project, App Inventor will automatically name the first screen, Screen1. This name cannot be changed. But, you will be able to re-name additional screens, as shown later in this module.
The artwork for this particular voting app was created in Adobe Illustrator, saved to a computer and uploaded into the project using the Media tool (in the Designer). The button and background images for Screen1 (and other screens) were set in the Properties panel using the Image property (for the buttons) and the BackgroundImage property (for the background). For detailed instructions on how to upload images created in an external software program and imported into App Inventor, please see UI Module: More About Buttons images #14-19. (Note: this reference example demonstrates importing artwork onto a button, which is the same procedure for importing artwork for a screen’s background image. Just be sure that Screen1 is highlighted in the Components Panel and its properties are visible in the Properties Panel.)
Our Designer window for Screen 1 appears in the following image. You can see the Components we used listed in the Components Panel.

Screen1 contains our Background Image and a Vertical Arrangement which houses two buttons and another Vertical Arrangement that we added to create space between the buttons.
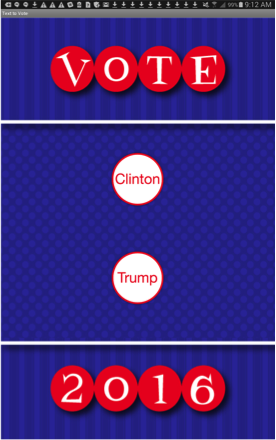
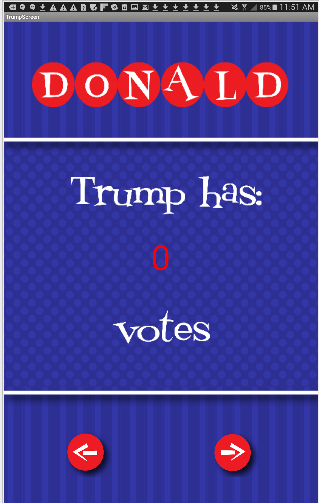
Our voting app appears on our mobile device as shown in the following image.
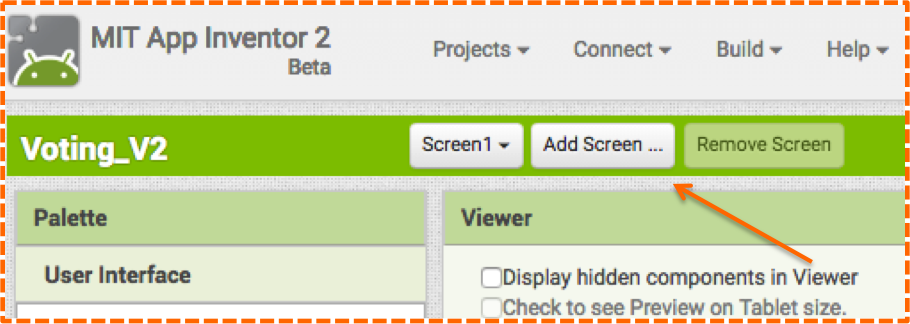
When a user clicks on either button to “vote” for a candidate, another screen will launch. Thus we will be adding 2 additional screens. To add another screen, simply go to the menu bar above the Viewer in the Designer and click on the button, “Add Screen…” as shown in the following image.
A pop-up window will prompt you to name your screen (the default is Screen2) as shown in the following image.
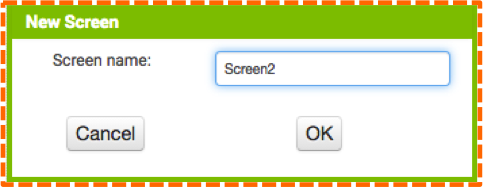
Repeat the “add screen” process twice. We named our additional screens, ClintonScreen and TrumpScreen.
When a user clicks on a favorite candidate to “vote” for her/him, we want the appropriate screen to launch to display the total number of votes for that particular candidate, as shown in the following images
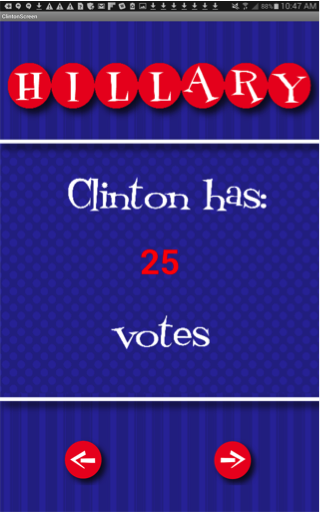
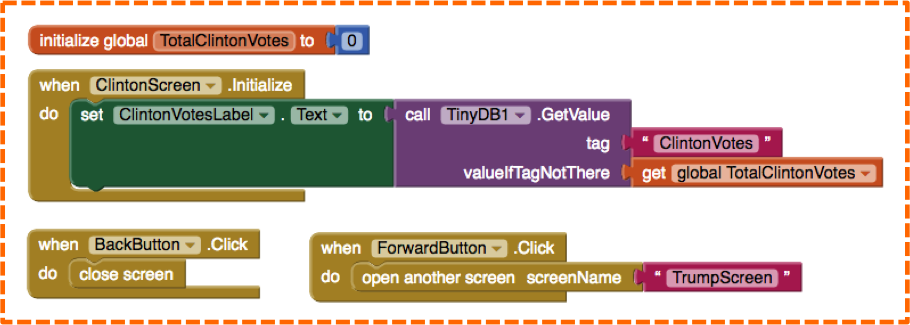
We coded our blocks in the following manner. When the Clinton Button is clicked, the app will close Screen1, launch the ClintonScreen, add another vote to the total number of votes and display the new total. The user can click the back arrow button to return to Screen1 or the forward arrow button to view the number of Trump votes.
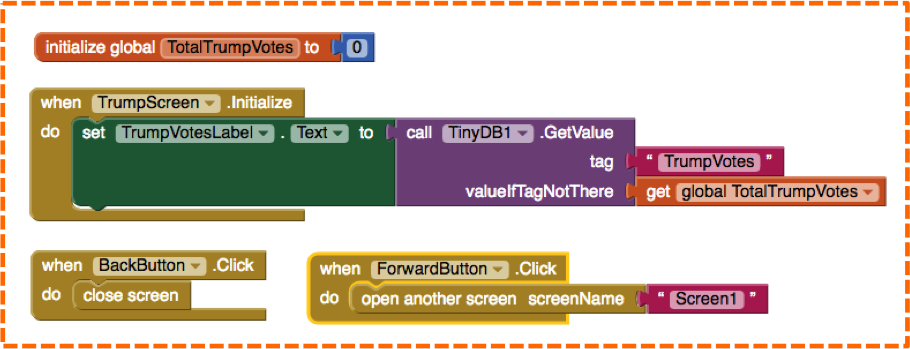
When the Trump Button is clicked, the app will close Screen1, launch the TrumpScreen, add another vote to the total number of votes and display the new total. The user can click the back arrow button to view the number of Clinton votes or the forward arrow button to return to Screen1.The blocks for these screens are shown in the following images.
Creating multiple screens is helpful when you want to show the app user specific information- some examples include directions, a form, a map or a list. When creating additional screens, it is important to have navigational buttons so the user can easily return home, go back to a previous screen and to close the current screen. Please keep in mind that adding too many screens will slow down the performance of your app.